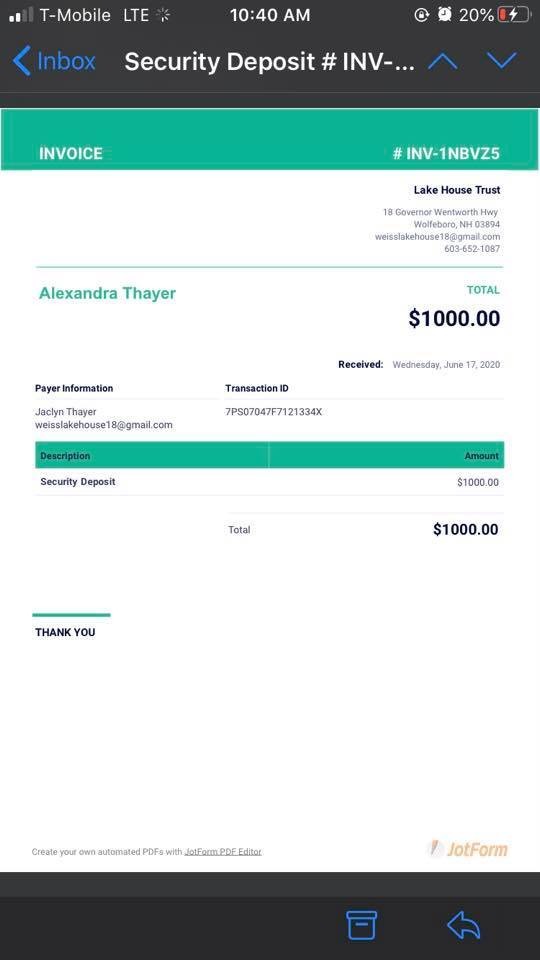
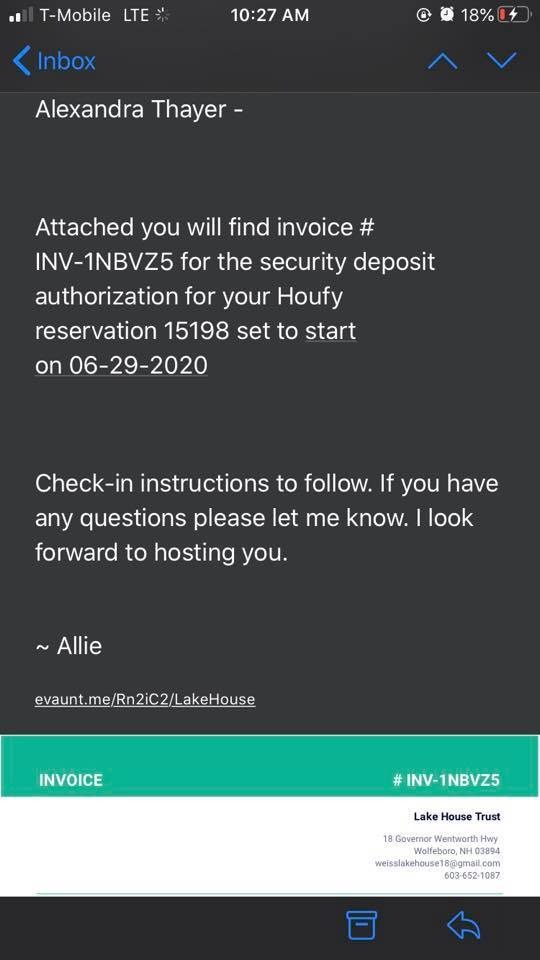
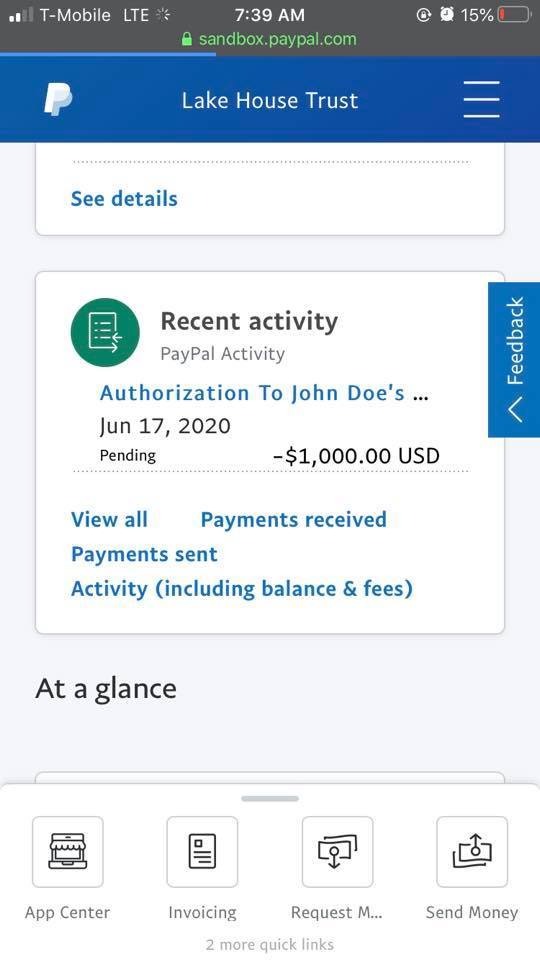
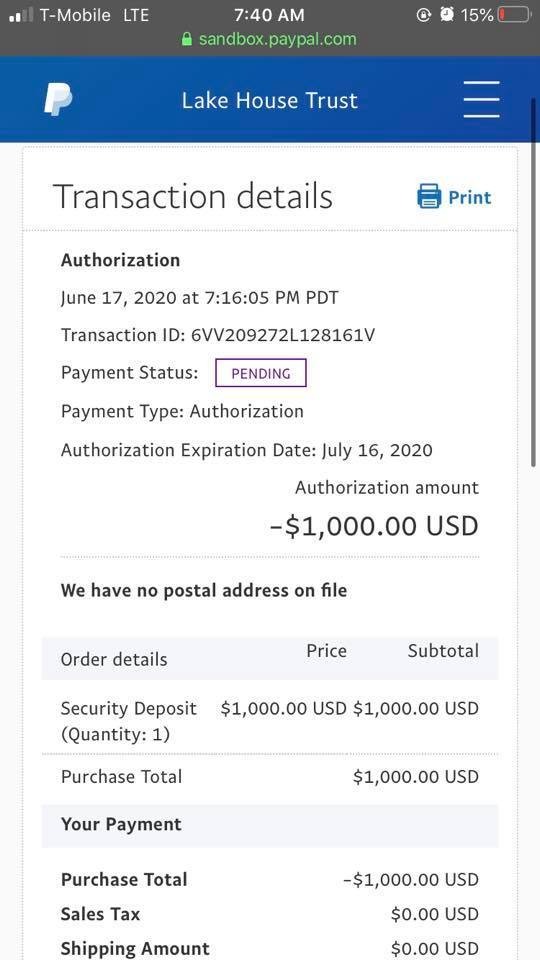
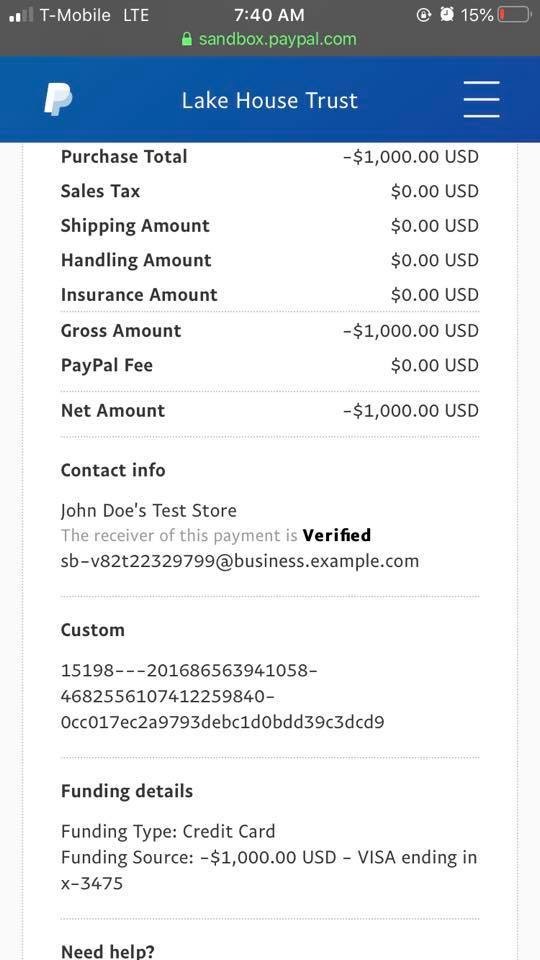
There has been a lot of interest in how I use PayPal to do security deposit authorization holds. So I am posting the instructions on how to do that. Feel free to reach out with any questions or feedback!
They are automatically is lifted (no sending it back) when a claim isn't made within 29 days. My original post has more information about the benefits of doing this. Processing fees are only collected for the specific amount that you make a claim on. If you don't make a claim and the hold expires there are no processing fees!
How to Set Up a Security Deposit Credit Card Authorization
1. Set up a JotForm account. The free version is what I use
2. Set up a business PayPal (not sure if this works with PayPal Personal)
3. On JotForm press Create Form
4. Press Start From Scratch
5. Select Classic Form
6. On the left select Add Form Element. You will need the following elements:
a. iFrame embed (under widget tab)
b. Full Name
c. Short Text
d. Paragraph
e. Email
f. PayPal Standard (under payments tab) PayPal Commerce works as well but will show Standard as it might work with PayPal Personal but PayPal Commerce only is for PayPal Business
g. Unique ID (under widgets)
7. Go to Houfy and get the link for your photos iframe. You will find this under the photo section of your listing. Click Embed Photos and copy just the https link (where it says src= in quotes). Go back to JotForm and select your iframe. Select the wizard wand (widget settings). Paste this url into Frame URL. Select the gear (properties) and adjust width and height as desired. Drag it to be above your header so it functions as a banner
8. Select the Header and change the text from Form to Security Deposit. If you have named your place add it to the subheader
9. Select Full Name. Click on the gear (properties). Change question text to Booking Name. Optional – make it a required field
10. Select Short Text. Click on the gear (properties). Change question text to Houfy Confirmation #. Optional – make it a required field
11. Select paragraph. Click on the gear (properties). Change question text to include “This will put a 29 day authorization hold in the unlikely event that damages occur during you stay. Check-in instructions will be emailed to you when the hold is authorized” and any other information they need to convey
12. Select Email. Click on the gear (properties). Change the question text to What Email Should Invoice Be Sent To? Make this field required
13. Select Payment Standard. Click on the wizard wand (Payment Settings). Input your PayPal account email. Payment type should be Sell Products. Under Additional Gateway Settings:
a. Enable Users Can Select Multiple Products
b. Enable Show Total Price on the Form
c. Enable Authorization Only
d. Change Pending Payment Email to Notifiers and Autoresponders so both you and the guest get an email stating the payment didn’t go through
e. Press continue
14. You should be redirected to the products tab. Press create new product. Change name to “Security Deposit”. Change price to what you charge for a security deposit. Enable required so it’s automatically selected and cannot be removed. Press save product. If you charge additional deposits like for events or pets add them but do not make them required. But do add in the paragraph above that if they aren’t selected then the pet may not come or the event may not take place until rectified.
15. Optional – select the invoice tab and enable the invoice creation
16. Select Unique ID. Click the gear (properties). Under prefix input “# INV-“. Either select Sequential Numbers or Random Numbers depending on how you like to see invoice numbers.
17. Change from the Build portion of the form to Settings at the top
18. Change Title to Security Deposit
19. Select Emails
a. Click Notification 1 (the emails you will receive when a guest submits)
i. Edit email subject. From the drop down list select any of the fields you set up earlier to make it easier for you to identify the booking
ii. Under recipients. Change sender name to the guest name option or leave it as JotForm
b. Click Autoresponder 1 (the emails the guest will receive when submitting)
i. Edit Email subject as desired using drop down menus of the fields you added earlier to customize and/or by manually typing
ii. Delete the default email content. Change it to your custom welcome letter. Also include that an invoice (if you opted for this) and the check-in instructions are attached
iii. Under recipients. Change sender name to your name and/or your property Name
iv. Under advanced
1. Optional – enable the PDF attachment so the guest gets a copy of their submission
2. Upload your check-in instructions under Attach a File. Now the check-in information is automatically provided but only after everything is in order with the security deposit
3. Change sender email to your email so that guests can email you back with any questions. To do this you need to select add an email in the drop down menu. Under email type select verified. Then go to the bottom and add your email. Make sure to confirm the email address with the verification code
20. Select Thank You Page
i. You have two options to choose from
1. Show a Thank You page. You can edit and change what they provide to provide them with additional information and/or to remind them to check their email for the check-in instructions
2. Redirect to External Page. You can alternatively redirect them to your guidebooks on Houfy. Just input the link
21. Select Publish at the top. Edit your link using “security-deposit”. Now you and your guest can see what it’s for just by looking at the link. Press apply then copy the link for your records so you can easily send it as part of your “I’m so excited to host you next week you can get the check-in information by authorizing the security deposit at this link” message
