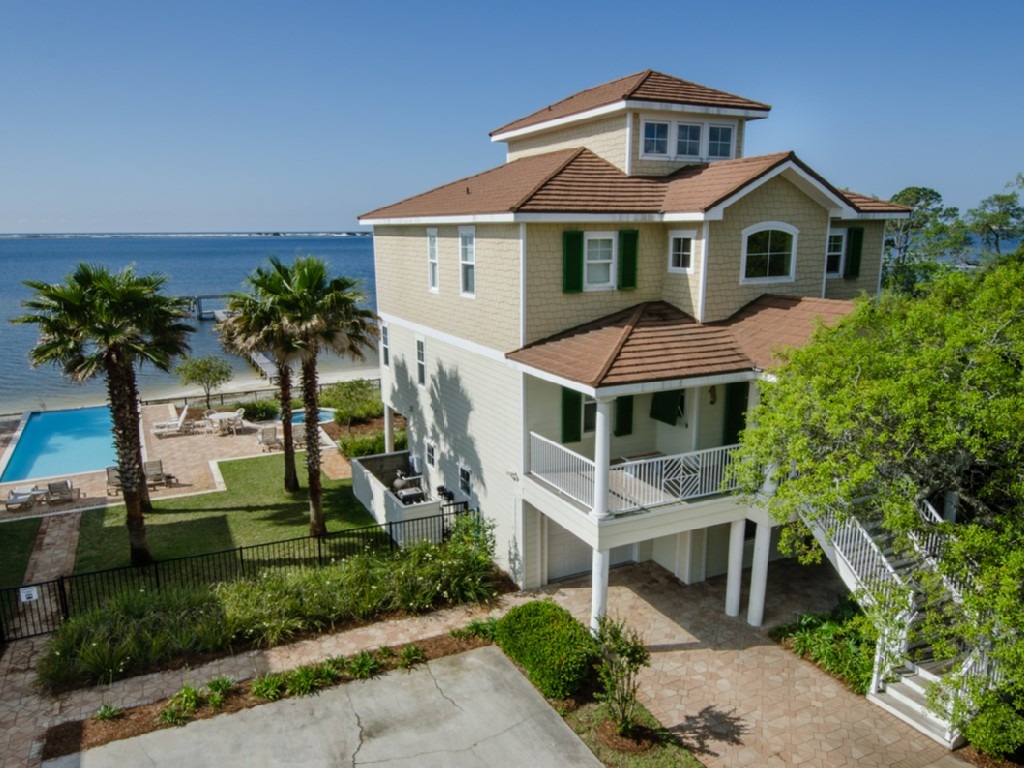
- an image with a listing number,
- a bland slideshow, or
- a video mixed with text, photos with attractive transition effects, video, and thematic music?
If you chose "C," read on.
Step 1: Gather Source Materials
"The end product will be as good as the source material you put into your video and the time you take to organize how you want to present information."
VIDEOS: In the beginning of my video I've used a video showing beautiful emerald green water. This video is not my own but it is free for me to use privately or commercially. Pixabay is a web site where under the creative common license you are free to search and use any video or photos whether for private or commercial use.
Tip: I will sometimes download an image to use in my blogs to provide a professional touch to any post.
For example: "Best Places to Get Coffee on Folly Beach"
PHOTOS: Aside from royalty-free photos you might find on Pixabay (and there are other sites for photos and images) another source of photos are those you use as listing photographs of properties. In my case, I use them for many purposes such as for inclusion in blog posts, website, advertisements and yes, property videos like the one being explained here.
We get a lot of mileage from these photographs so I don't mind engaging a professional photographer to take photos of my rental properties. There is simply a tremendous difference in the quality. For instance, photographers have the equipment to ensure appropriate light balance and have the filters or post processing to show views outside windows. Maybe you need that torn up boat slip erased from a photo, power poles, or you need a view high up in the air.
Tip: We took it a step further and staged dinner tables, loungers, beds to look like they are being enjoyed so people can envision themselves there.
MUSIC: One of the larger libraries of downloadable music is YouTube Audio Library. YouTube's audio library has hundreds of songs searchable by a flexible criteria such as genre or mood. If you're so inclined, there is a tab for sound effects as well.
There are plenty of other sites out there providing royalty-free music. A simple search on Google can lead you to additional sources.
Tip: Whereas I'm certain you can find music to suit your needs here, if you happen to incorporate a song that has an tied to "attribution" it is appropriate to credit the artist of the music in your video.
Step 2: Plan & Organize Your Video
"More is not necessarily more. Remember to keep it brief. This video is about 60 seconds. Anything longer you runs the risk of losing viewer attention."
It will save you time in the process if you give some thought to the following:
- What is my goal or purpose of the video?
- Where are my source files?
- What should I do for an introduction?
- What should my title image say?
- How many individual images will I include and in what order?
- What text do I want to place on my images?
- Do I need to include any attributions and where?
- How do I want to conclude the video so the viewer can take action?
In an effort to keep my video to about one minute, I purposefully selected only a few internal photos of my property. I start by connecting people with the location, the "why" you want to vacation here first. So the opening video, followed by a gorgeous photo of our beach, loungers, and pool sets the stage for the location. I show the table on the balcony outside all prepared so my prospective guests can envision themselves enjoying chips, guacamole, salsa and a cerveza. We're hitting on all the senses here; visual, auditory, smell and taste.
Some photos you show because it answers some basic questions: Does it have a heated pool? How many people does it sleep? What are the top amenities?
Tip: You don't have to answer all of the questions. Your purpose should be to ultimately draw the viewer to your Houfy property listing for the additional details.
Step 3: Create Your Property Video
"You get what you get for free, but sometimes that can be a heck of a lot!"
VIDEO CREATOR: In putting this post together my rule was it must be free and something you can do online without installing software. Some of you astute readers who have watched the video may have seen a little transparent image in the lower-right of the video. That's right, I used Adobe Express to create the video.
I found the program doing a simple Google search for "free online video creator." Adobe has a terrific name and reputation for graphics programs and so I had high hopes I wouldn't be disappointed; and I wasn't.
In transparency, this was my first time using Adobe Express and I'm truthful in saying it took me 30 minutes to do. That said, if I add time for Step 1 and 2, it may have taken a full hour.
Since I'm comfortable in using other video editing programs, I did find Adobe Spark to be overly simplified for my tastes, but I do feel this is a great starting point for most as evidenced by the end product video.
There are some questions you'll ask and so I'll address them up front.
Can you get rid of the Adobe Express logo? Sure. Anything for a fee. You can upgrade for $9.99/mth and you gain some additional capabilities:
- Replace the Adobe Express logo with your own
- Add your brand to Adobe Express graphics, web pages, and video stories
- Select colors and fonts that reflect your brand
- Leverage personalized branded templates
Using Adobe Spark is pretty simple and there's an introduction video that will show you the basic steps worth watching.
Tip: Don't worry trying to make things perfect at the outset. Experiment with different title options, themes, etc. Get familiar with how it works. You can always edit and move things around. Click around and go wild! You won't break anything.
You will find the options and tools are not limitless. But that's a good thing. You only use a fraction of the capabilities most programs offer anyway and it keeps things simple.
I didn't even bother to change the music track. I used what Adobe Express assigned to the template I used. So there is a limited set of songs in the program, but you can always go to YouTube Audio Library and download a different track.
Step 4: Publishing Your Property Video
"Your video is dressed up and now it's time to take it out on the town."
Publishing: Previewing the video in Adobe Spark did not always provide smooth animation and video. It played nicely once downloaded and viewed on my computer. I then uploaded the video to my YouTube channel. If you like this post, pay it forward by going to my YouTube channel and subscribe to it. I will do another post about creating a YouTube channel.
Tip: Previewing the video in Adobe Spark did not provide smooth animation and video. It played nicely once downloaded and viewed.
Sharing: There are a number of options and considerations for sharing your property video aside from simply downloading it to your computer. You can share it to your own Facebook website or "Houfy Vacation Rentals" page. If you have your own website and would like to embed it, you'll see an option to copy and paste a code snippet to do that.
One nice thing in creating a shareable link is you can copy and paste it in just about any communication from a Houfy post, website, electronic newsletter and Adobe Spark stores the video for you. No download necessary.
Creating your own property video still seems daunting? Not happy with the results? I'm happy to create a property video for you through MyRentalButler, a vacation rental property services company. And no, we won't be using free tools to do it.